
On Location…Lesson 1
Tips for Choosing Your Subject
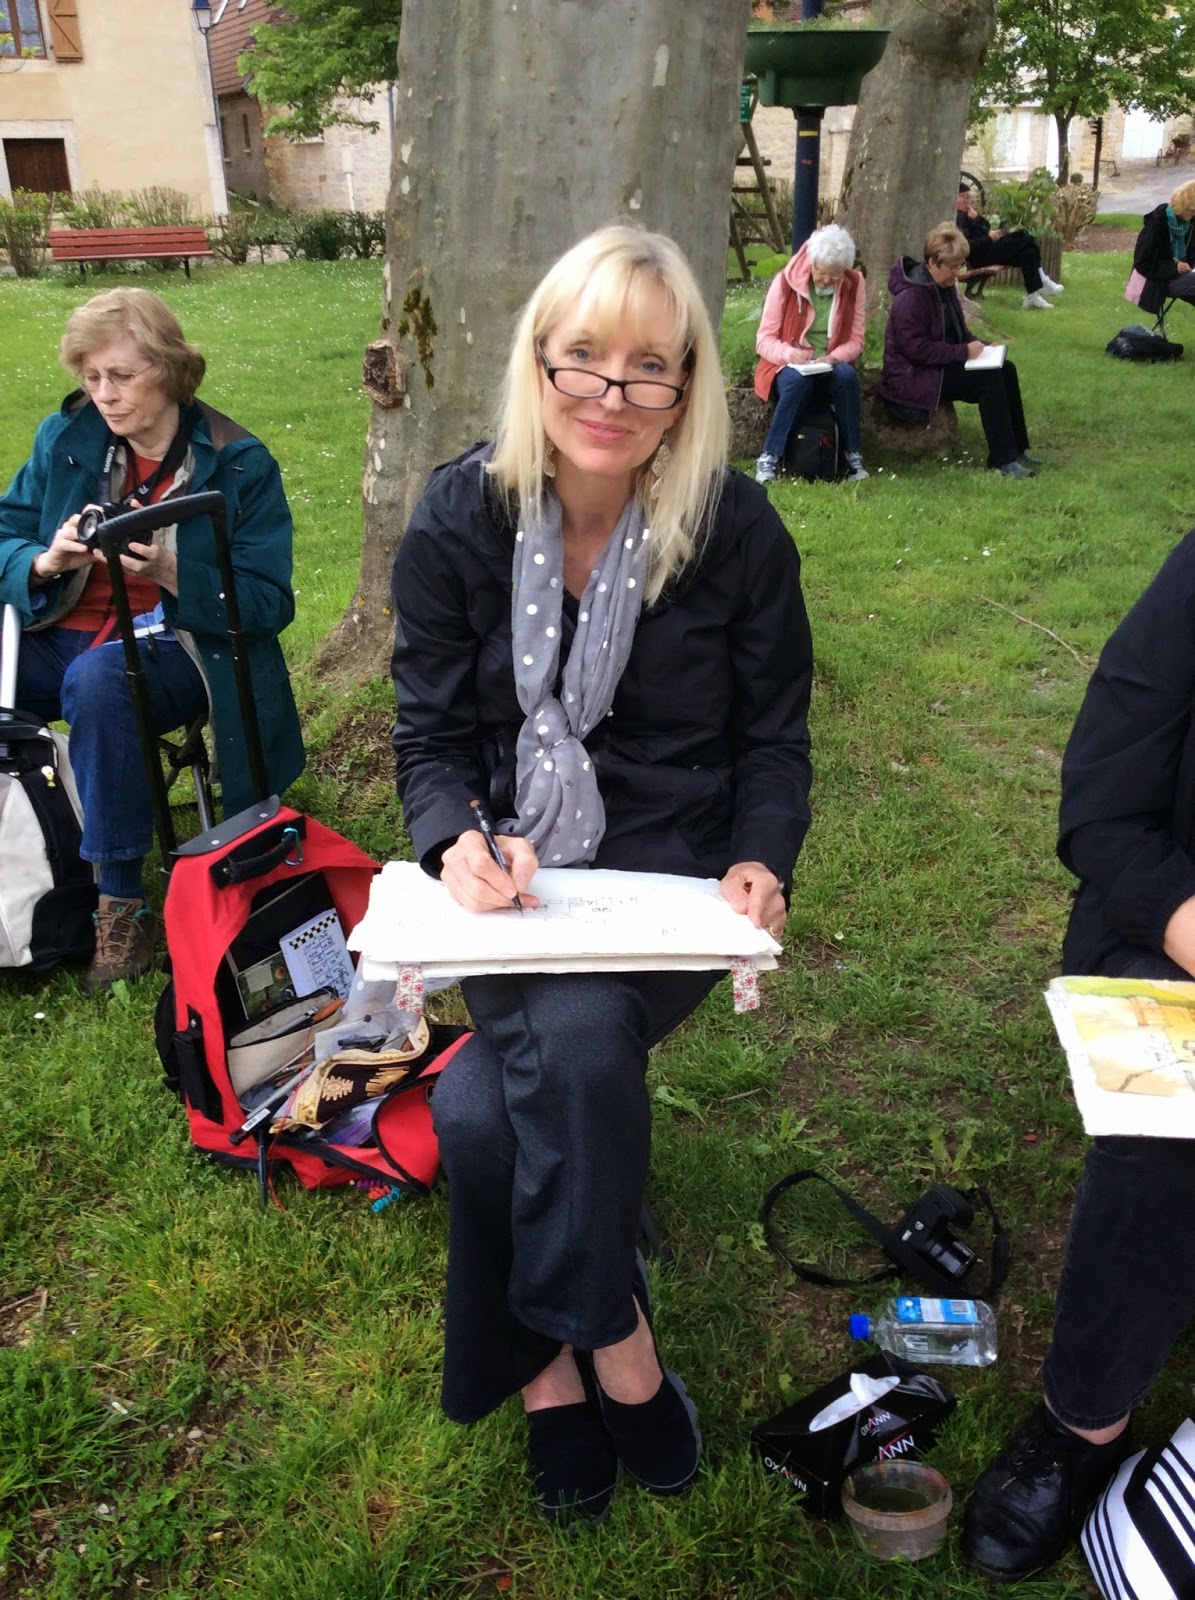 |
| All the Painters at work in St. Chamarand, France |
Painting on location is one of my favorite things to do! In preparation for my next trip with students to Tuscany Oct 3-10, 2015, I thought I’d begin a series of posts oriented toward helping you get great photos and pick where you should paint when you’re out of the studio and on location, or “en plein air” as they say in France. This first lesson gives some hints on to how to frame your shot. Whether you’re a photographer, or a guerrilla painter, hopefully you’ll find food for thought here…
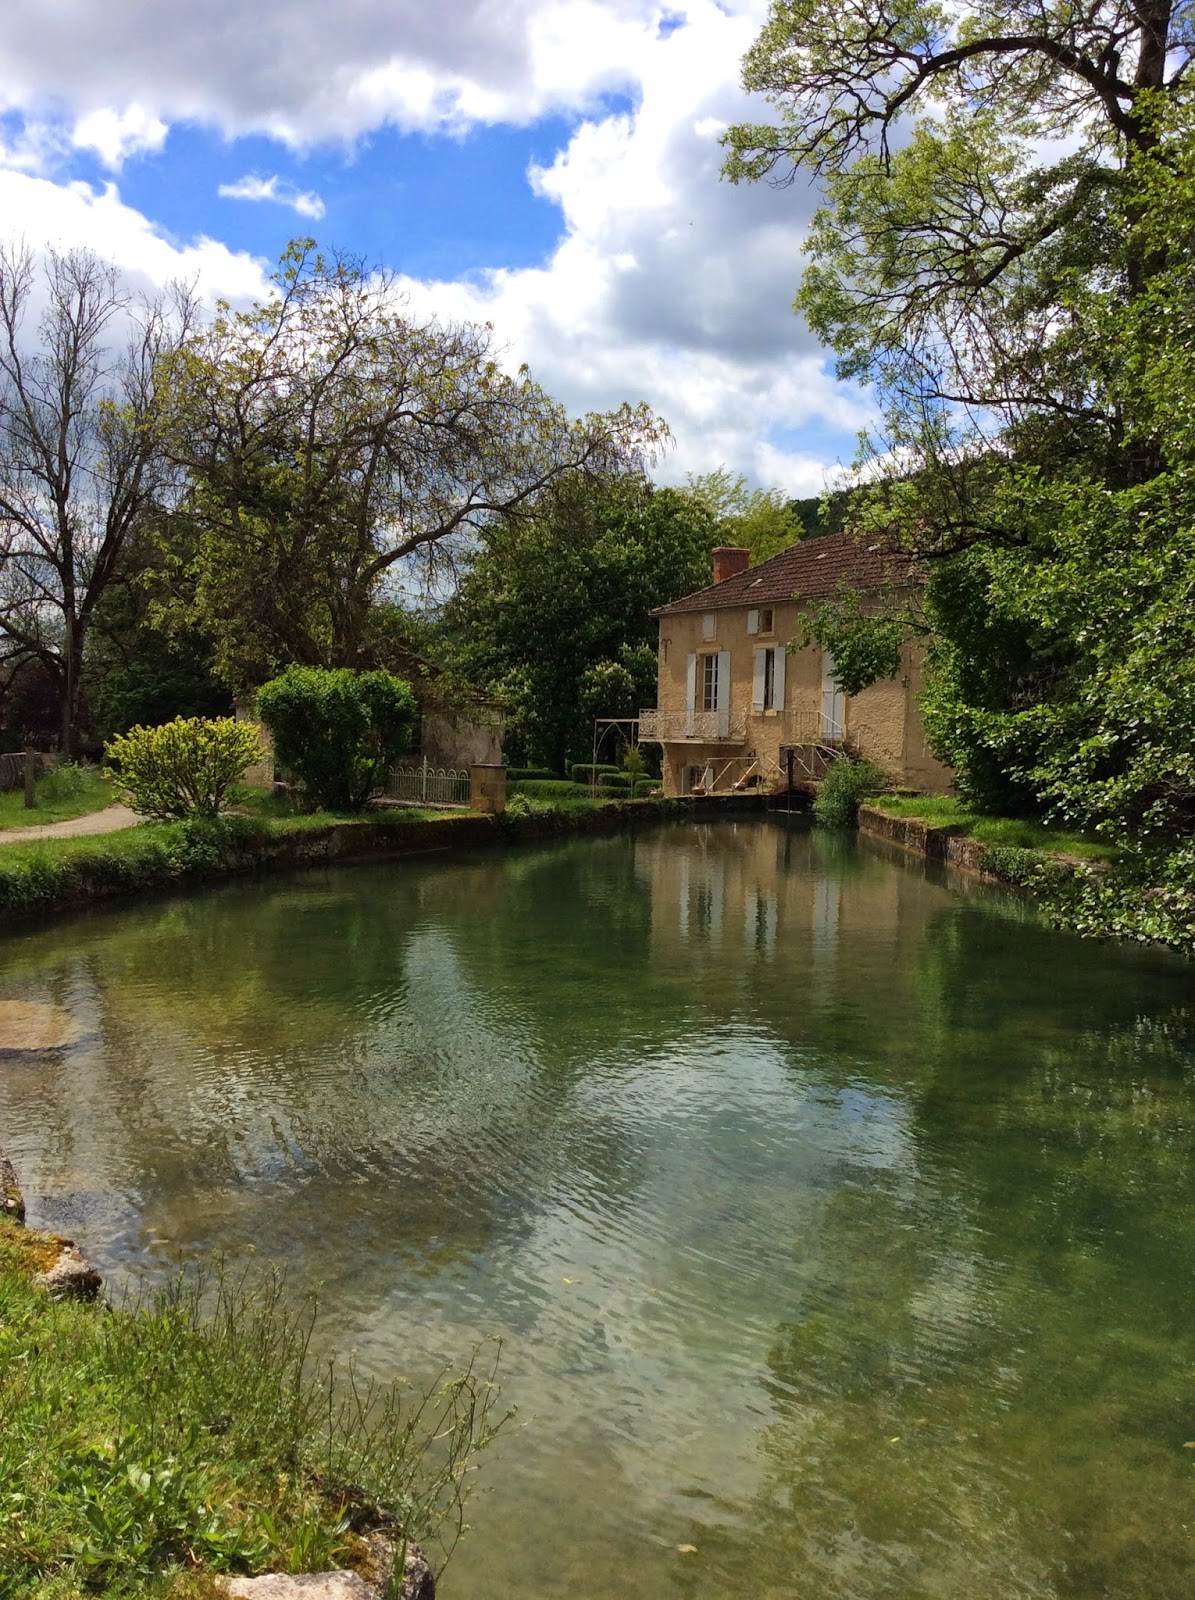
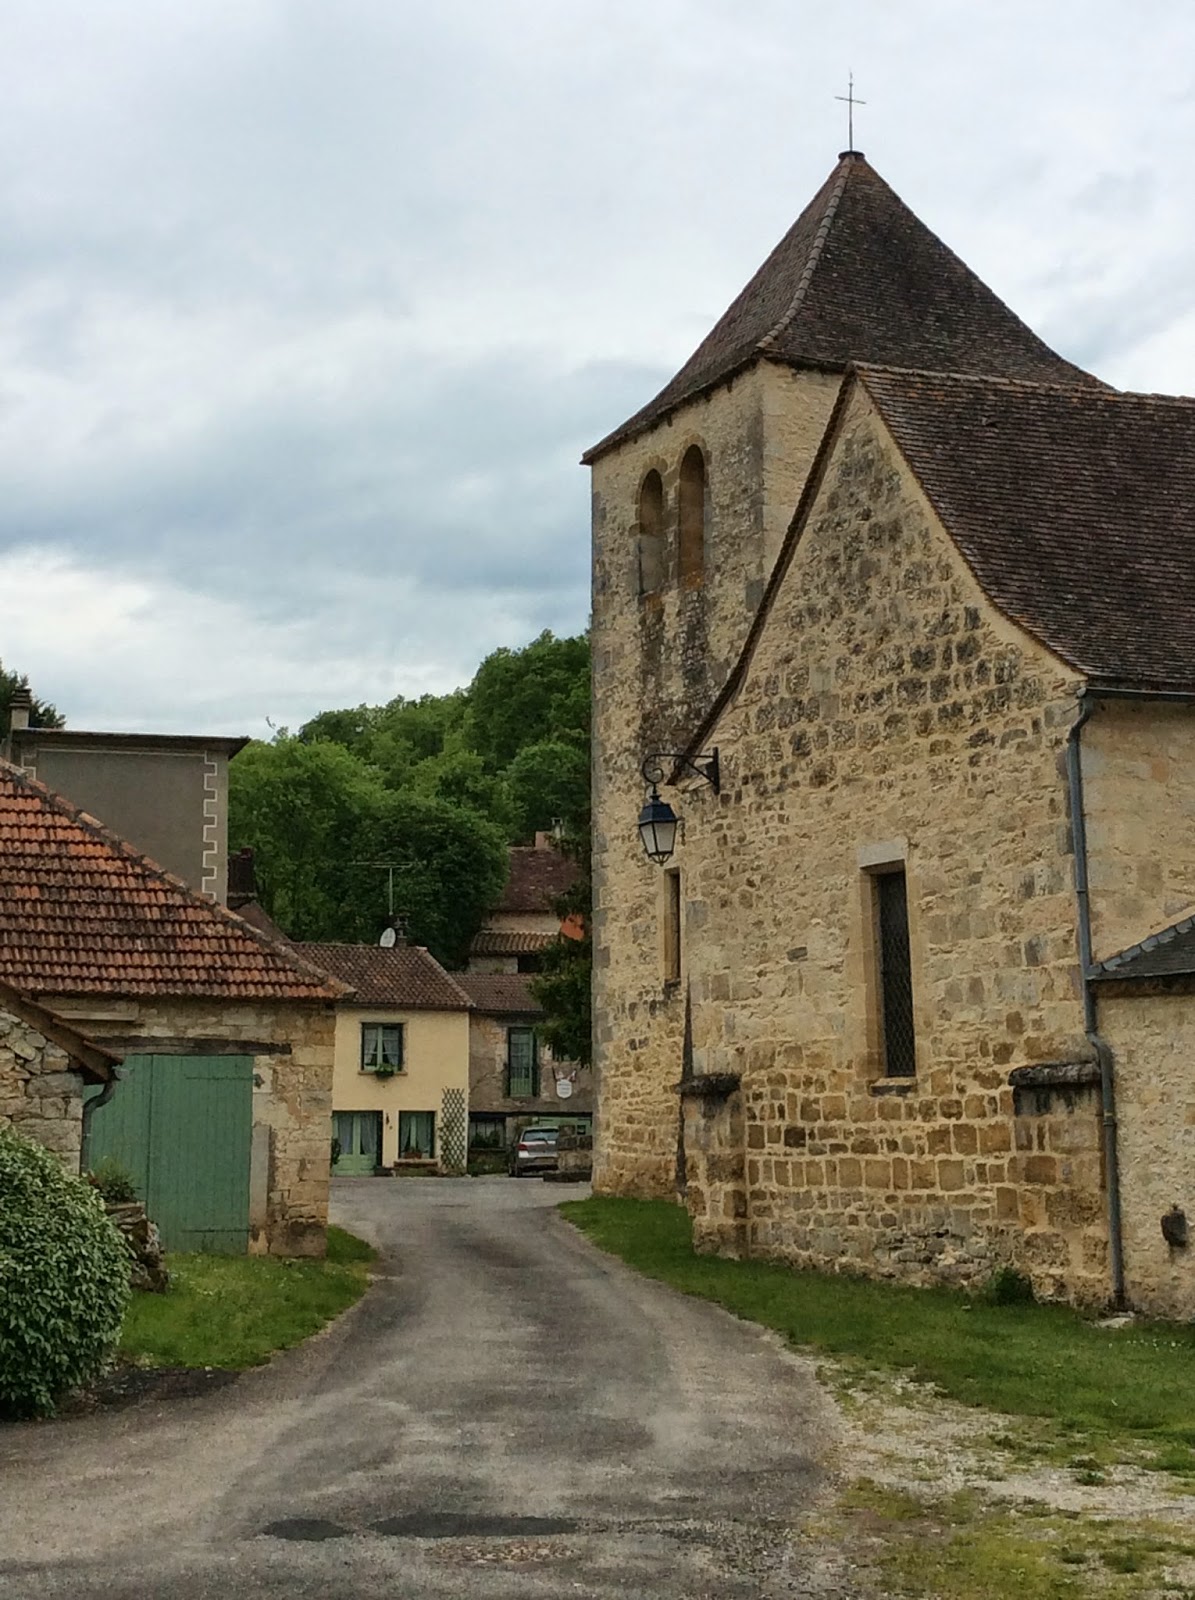 |
| St. Chamarand, France |
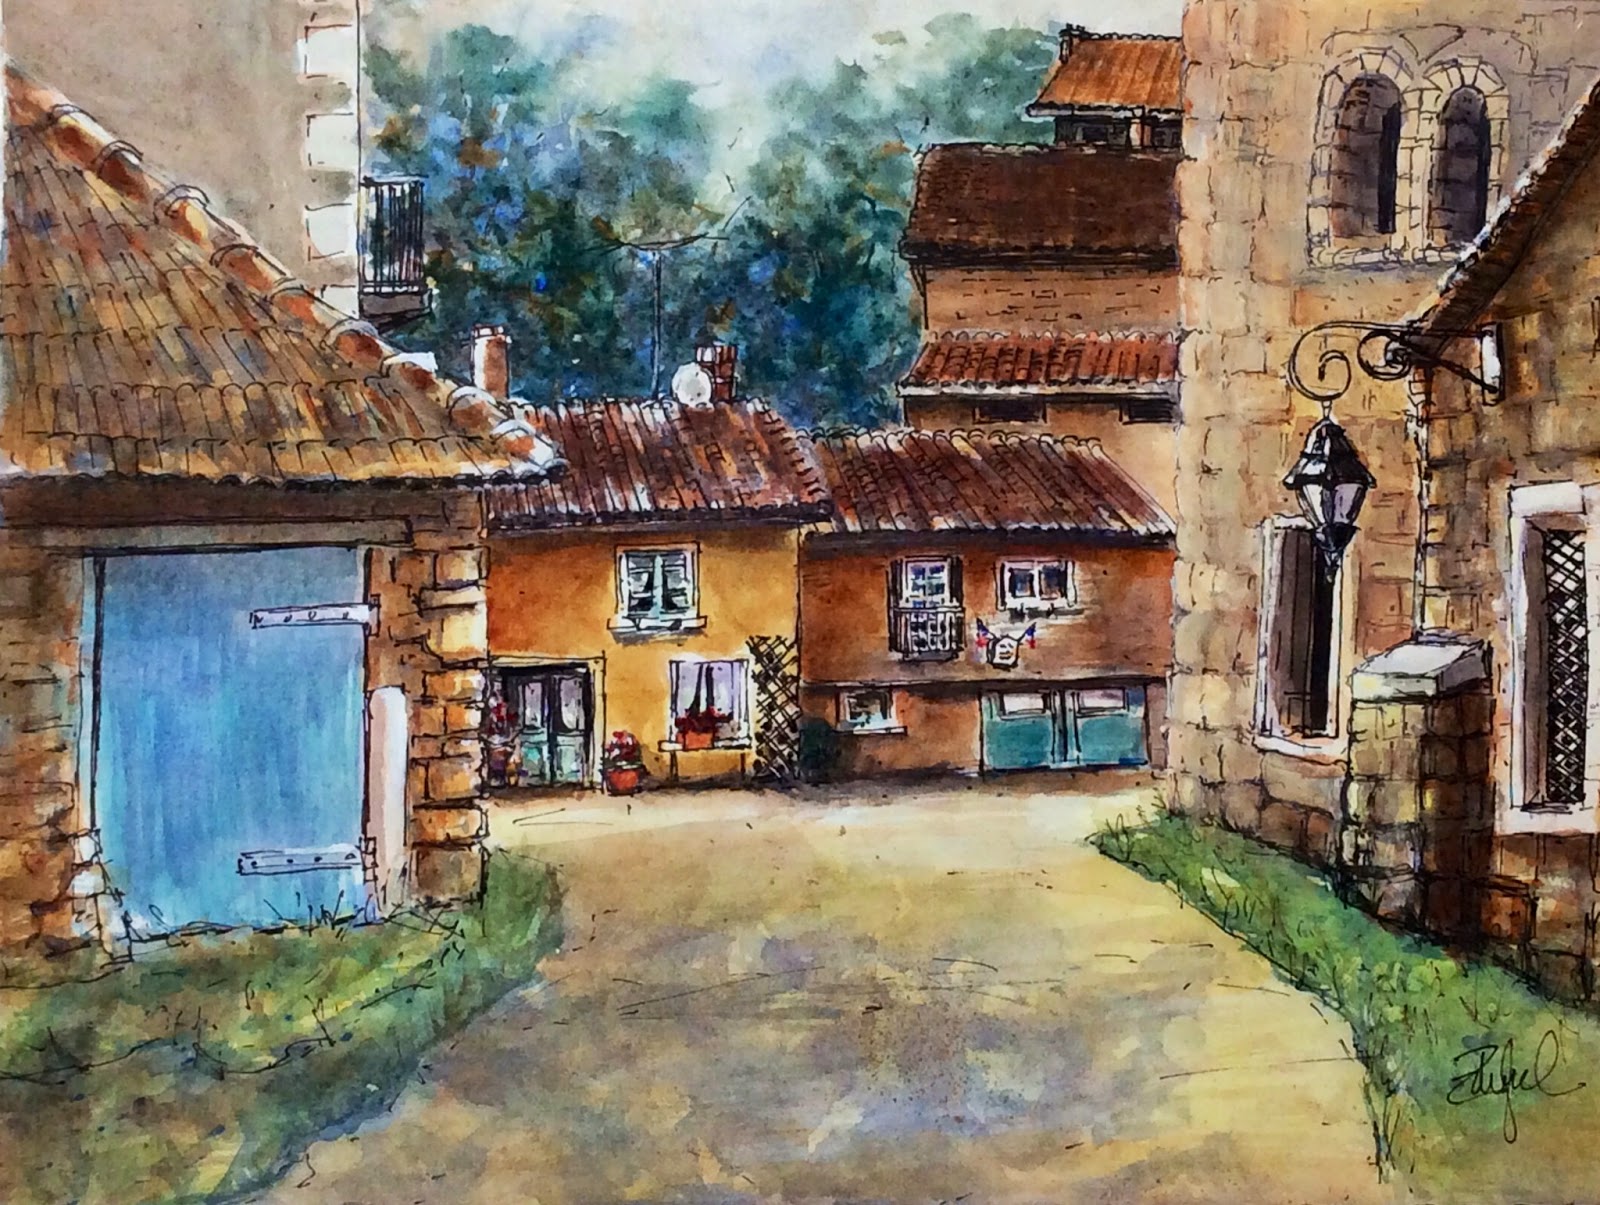 |
| Vue de la Rue- St. Chamarand, France 11×15 watercolor- Rebecca Zdybel |
When on location, deciding on your subject…what to paint and how to paint it can be difficult. Once you find an interesting subject, the next decision you face is how to frame your subject to best advantage? These are some good questions to ask yourself:
- What angle will you use?
- Where is the best view?
- Will your subject be most interesting viewed from head on, from the side, from below, or from above? (hint: look for interesting shapes and angles)
- How much time do you have to paint or draw? (if not much: then pick something simple.)
- Is there a good pattern of lights and darks?
- What interesting features do you want to highlight?
- Is there shade or a place to sit and be comfortable?
- Where is the nearest bathroom? This is NOT A JOKE, lol!
- Do you hear thunder? Also NOT a joke…Take shelter! (I learned this the hard way right after the photo b!)
 |
| Setting up to paint in St. Cirque la Popie- Don’t ignore gathering Dark clouds even if it’s bright and sunny… Needless to say, I didn’t get very far before we had to RUN for shelter! |
Hint: Use Your camera as a Viewfinder
If you have a subject which excites you and you’re not sure whether or not it will make a good painting…TAKE A PHOTO. It used to be that artists would carry little cardboard viewfinders in their bag, but these days, we all have cameras. Cameras have essentially made it unnecessary to bring an extra viewfinder.
When possible, make an effort to view your subject from multiple perspectives through your camera. Assess your photos, and then let the best photo help you decide how to compose your painting. Digital cameras, phones, and iPads or tablets make this easy.
(I have found that tablet screens e.g. iPads are very difficult to see in the bright sunlight. They are also cumbersome as camera’s…often taking a long time to focus and shoot).
 |
| Scene from Gigouzac, France (Landscape orientation) |
 |
| Same scene- Gigouzac, France portrait orientation with sunshine |
Once you find the right vantage point and get ready to begin your sketch, here’s another TO DO LIST:
- I will frequently take a photo with my iPad if I have it. Sometimes I use it onsite as a quick reference to begin my drawing.
- ALWAYS TAKE A PHOTO ONCE YOU ARE SEATED AND BEGIN YOUR DRAWING. This will record your unique seated perspective for future reference if you need to alter your sketch or complete it once you get back in the studio. Remember: If you take a photo while standing, your horizon will be at standing eye level. If you sit down, the seated position lowers the horizon line and changes all perspective lines.
- TAKE ANOTHER PHOTO IF THE LIGHT IMPROVES OR CHANGES. (Shadows change, and some light patterns are more interesting than others.)
In my next installment I’ll give you some tips on solving some of the perspective problems which can arise on location. Subscribe to this blog so you’ll get them delivered to you as soon as they’re posted.
Thanks to those who have been leaving me comments. I really enjoy hearing from you!
Rebecca Zdybel
Artist, Instructor, Art-Travel Instructor
Art Lessons in all media
Myrtle Beach, SC
rebecca@rebeccazartist.com
Spread Light, Share Love, DO Art!
Feel free to share any of this blog post on your own blog or website, but I ask that you you include:
“Like” my facebook page: Rebecca Zdybel- Artist
Join me on Google+ Rebecca Zdybel Google+ Profile
Recent Comments