
30 Day Drawing Challenge Day 5- Negative Space
Let’s Think Positive about Drawing the Negative Spaces
I have always loved to draw, but not because it was easy. Many famous artists struggled with learning how to draw as well. Does that surprise you? If you think you have to be a “natural” in order to draw, I would strongly disagree. A little hard work can make up for a whole lot of inherent talent. One of my favorite artists, Vincent VanGogh happened to write to his brother Theo quite frequently while he was studying art and struggling along the way. here are a few of his thoughts on drawing…maybe you will can relate to him.
“As practice makes perfect, I cannot but make progress; each drawing one makes, each study one paints, is a step forward.” Vincent van Gogh
“I’m drawing a great deal and think it’s getting better.”—Vincent van Gogh, Etten, November 3, 1881, to Theo van Gogh
If you’re struggling or if you have been intimidated by drawing, then you have a lot in common with Vincent Van Gogh. But don’t cut off any ears ok?!
When we learn to draw, there are many tricks and techniques to know. There are a few tricks of the trade that have boosted my drawing skills over the years. Learning to render negative spaces was a dramatic help. I predict you’ll also find it helpful.
What is Negative Space?
|
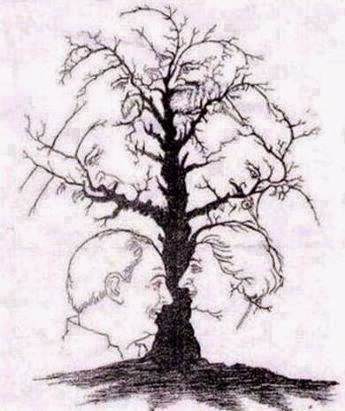
| How many faces do you see? I see 16, how about you? |
Negative space is the space around and between things. It’s the space between the chairs, or under the table and between the legs. We are all aware of that space. We are constantly managing to look for it and find it in order to navigate in this world.
Think about parking. In order to park, we look for a “negative” space, or the space between the lines, and between other cars. ( God help us if we need to parallel park because then we have to factor in the negative space between us and that darn curb 😉
Not only does negative space exist, but it forms shapes. Normally we may not see theses spaces as shapes, but as artists we need to be sensitive to the shapes of things. That’s why the tree drawing above is so clever.

Here are all the faces that I can see within this crazy tree…
The point is, you already KNOW about negative space, you probably just haven’t given it much thought. More than likely, you may not have ever thought about APPLYING it to your drawing. What’s interesting, is that once you know about negative space, it sometimes provides an easy way to draw complicated images. Hmmmm, easier sounds better right? Ok, let’s get started…
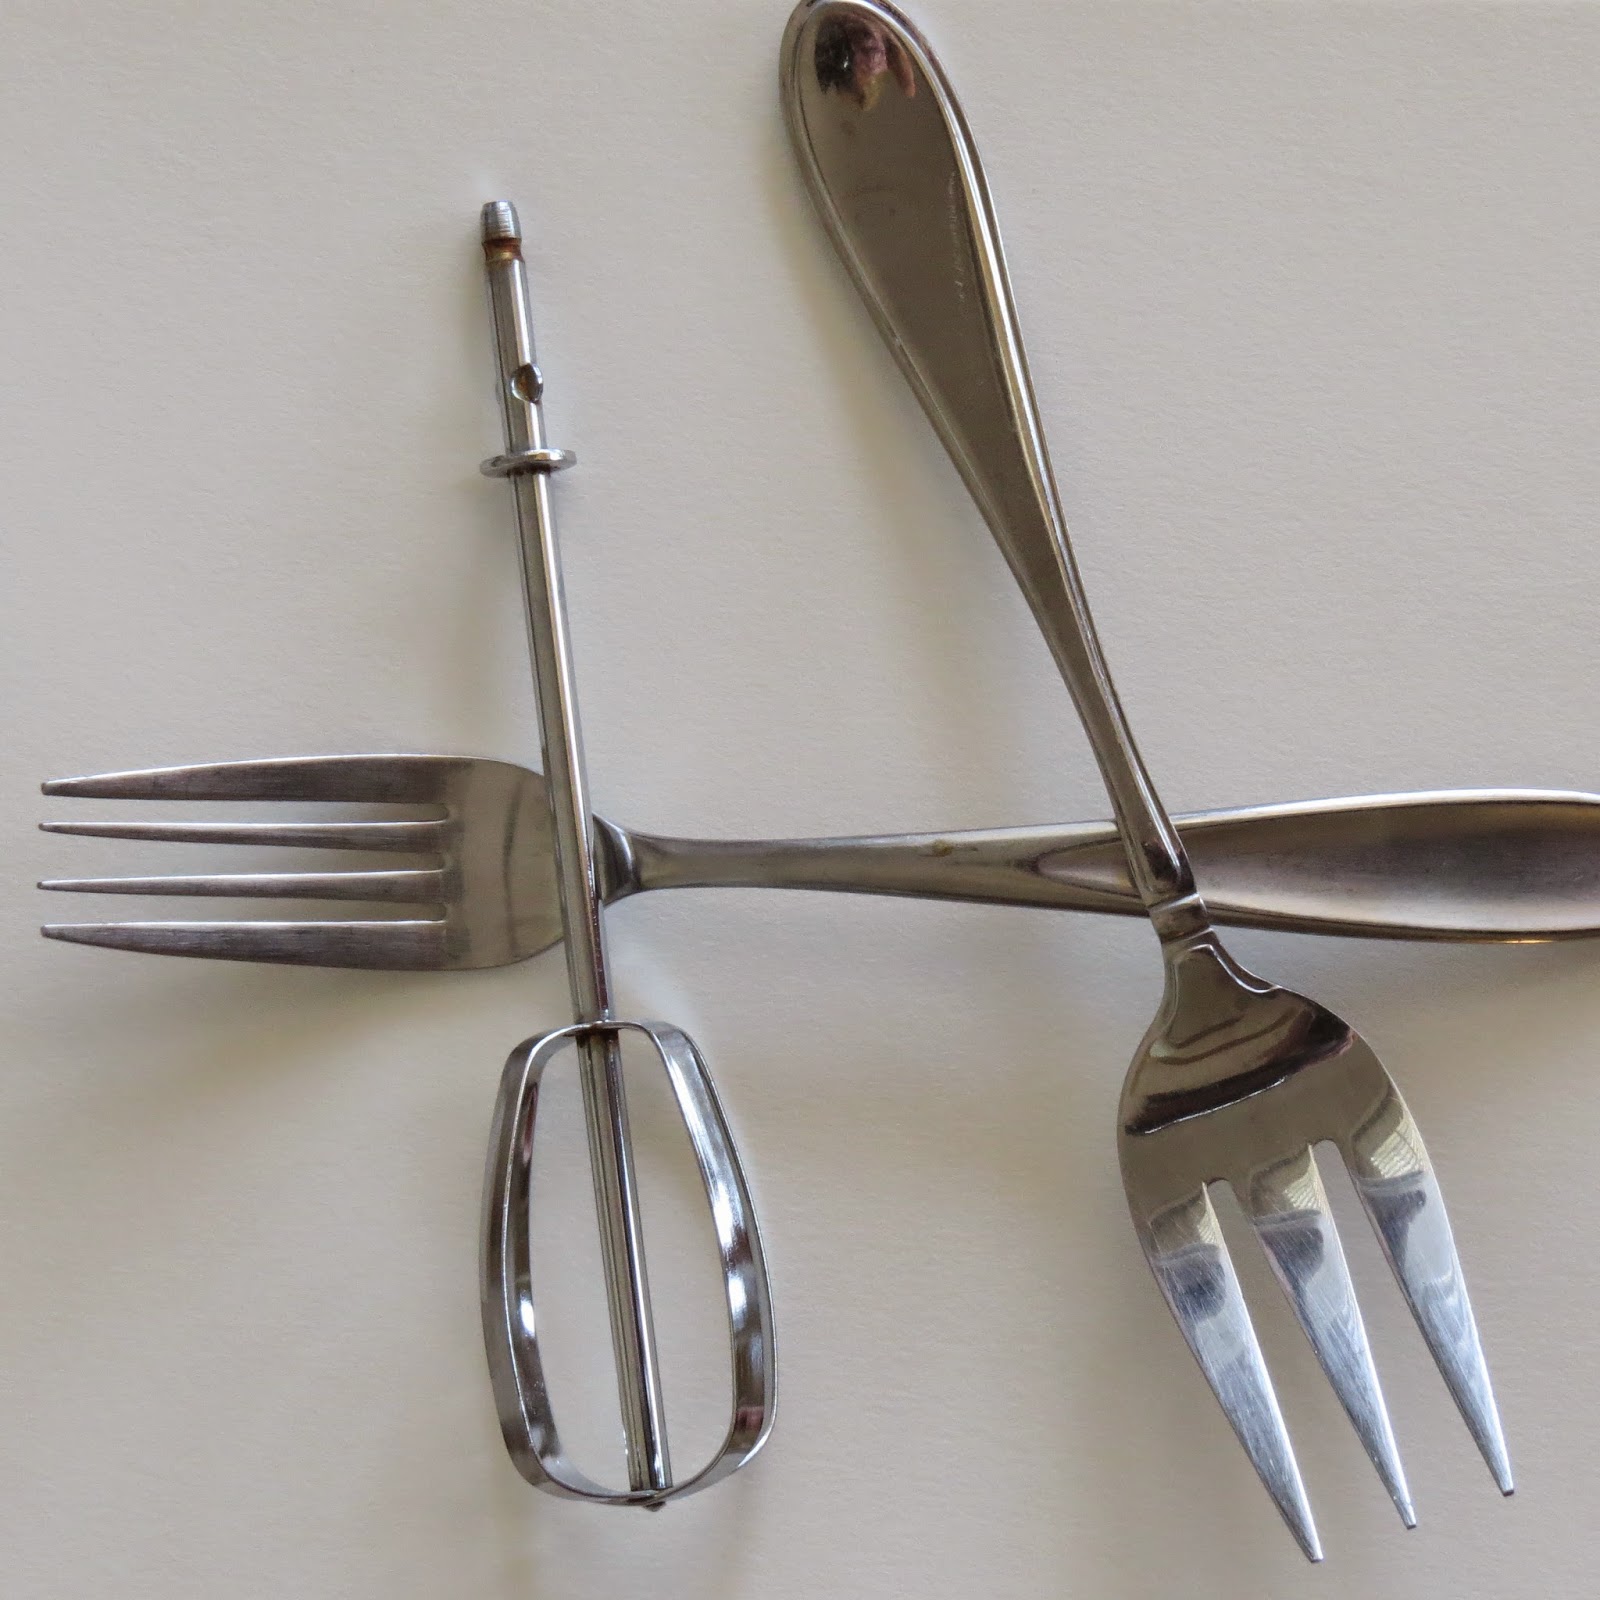
Step 1- Gather pencil, paper, eraser (yes, I’m in a nice mood again 😉 and a few household kitchen items. Arrange the kitchen items on a piece paper which will become your “frame”. Otherwise, you could also take a photo and use that image as I have done here to create a frame around your items. Let some of the items intersect the edge of your frame in a few places as pictured above.
Step 2- Draw a similarly shaped frame in your sketchbook.
Step 3- Now look at the shapes around and between your items.
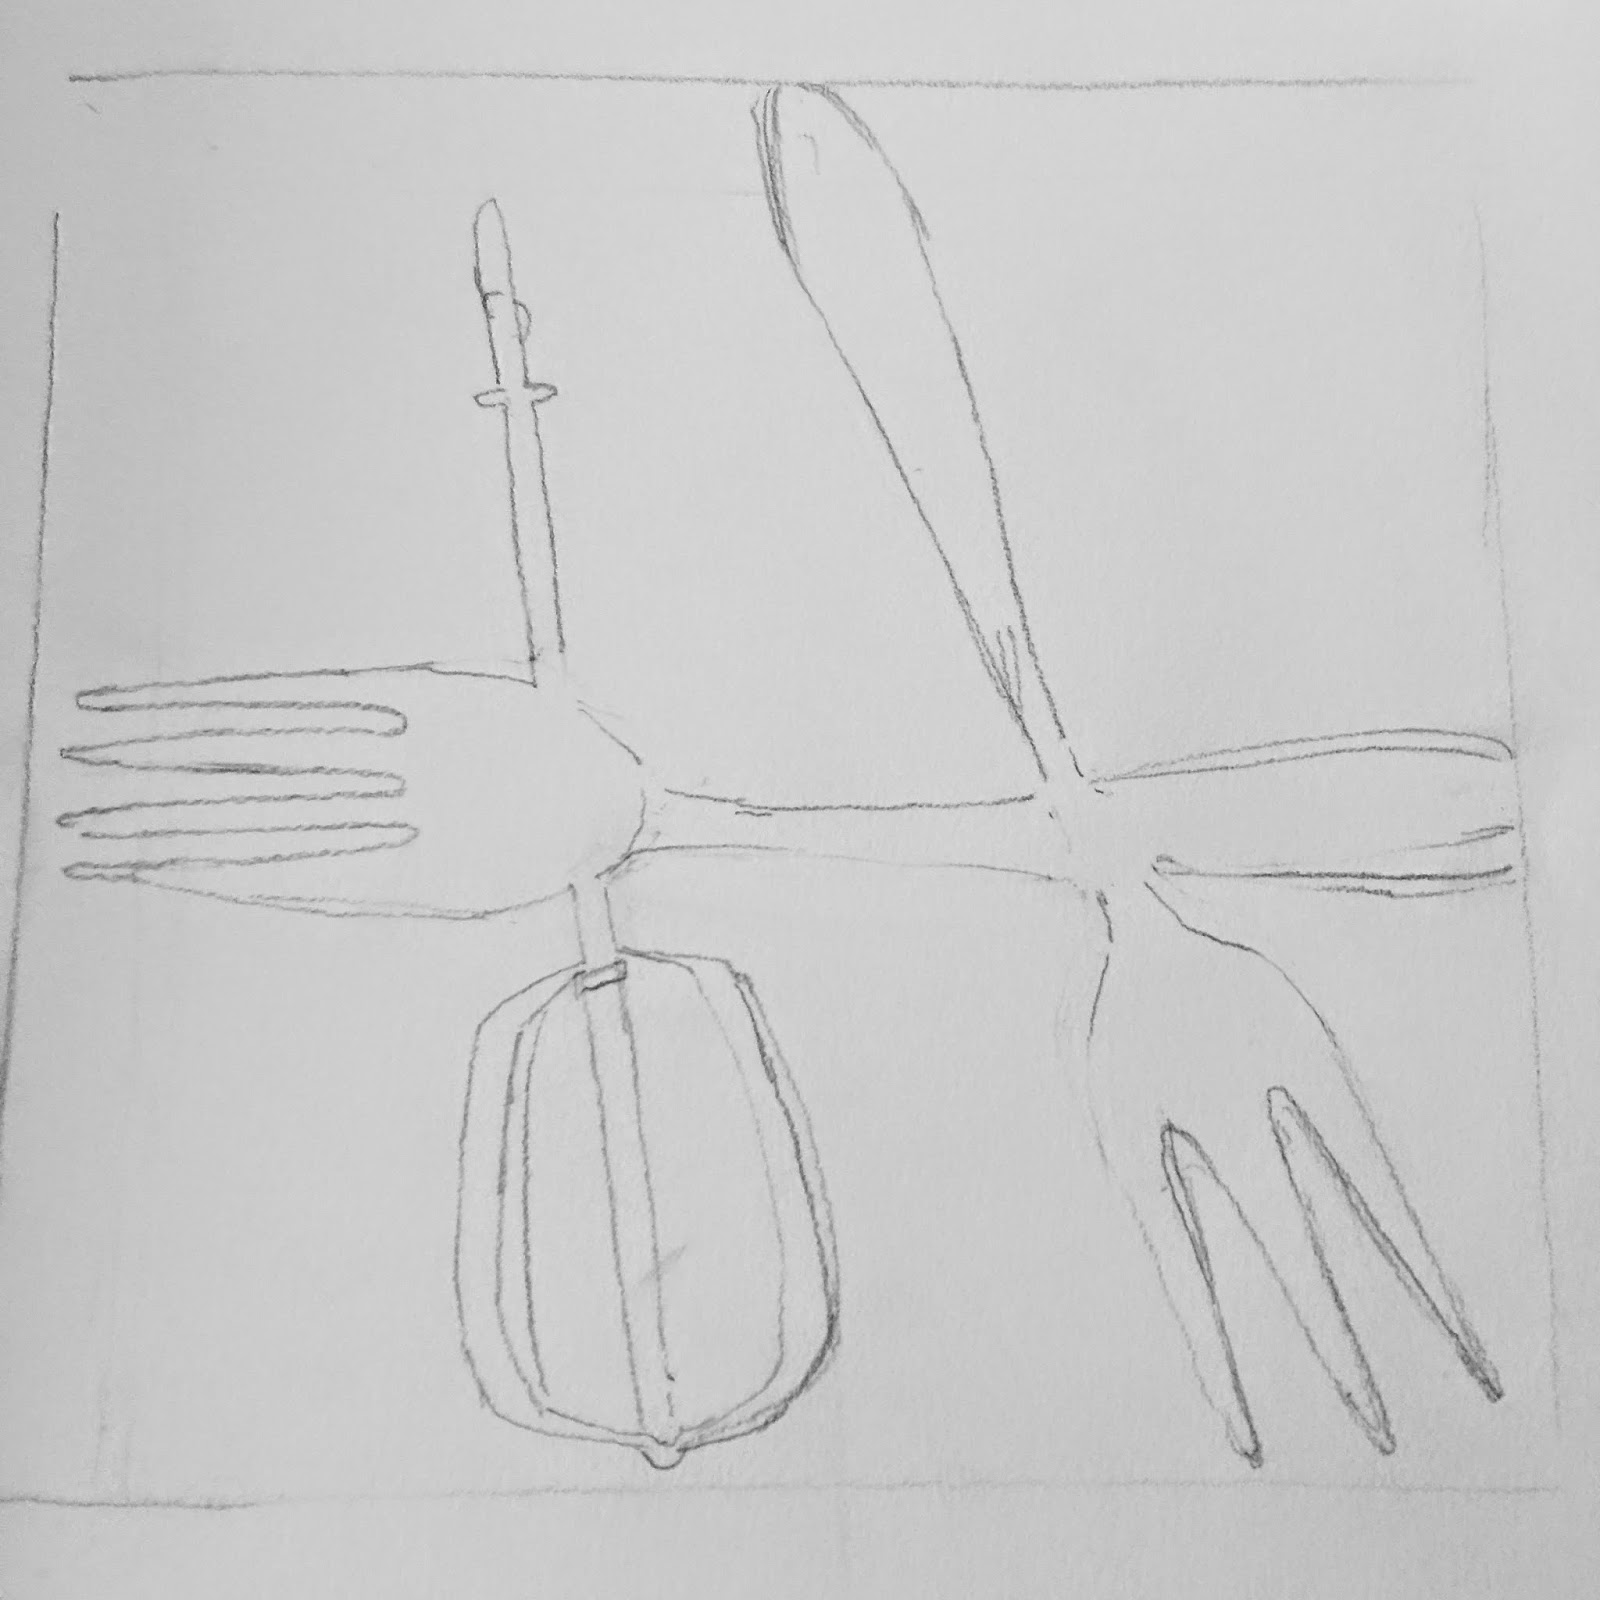
Step 4- Draw the arranged pattern, but rather than drawing your kitchen items, draw the shapes around them. and let those shapes form the outer contours of the items in your drawing. As you can see, the shapes around them will include the edge of your frame as well as the edges of your kitchen stuff.
It will look something like this:
Try to think positively about your efforts, but DRAW NEGATIVELY. This is not easy. And will take a little practice, but rather than strain your brain too much, we’ll make this little drawing all we do for today. That will leave you time to share your drawings with me or comment below about your experience.
Use any extra time you may have in the next few days to get a pen which will “bleed” with water. There are lots of water-soluble pens out there, but my favorite is the Black Elegant Writer calligraphy pen in an extra fine nib size (available online and at most craft stores). We will use a pen like this in a few days. You can also think about gathering a good plastic eraser, and a kneaded eraser (I like the General brand best, but any will do). We will also have a use for a tortillion soon (otherwise known as a drawing stump). Otherwise, if you don’t have a tortillion, your finger or a paper towel will be an ok substitute.
In the meantime, if you’re enjoying this drawing challenge, I’d appreciate you subscribing to my blog and continuing the journey with me and my students. Your comments on this blog are always appreciated. See you tomorrow!
Recent Comments