
One of the biggest challenges I face as an artist isn’t finishing a painting—it’s beginning.
From the minute I get an assignment, that piece is occupying mental real estate. And sometimes it generates anxiety that gets in the way of starting. Sometimes I have to trick myself into getting out of the “thinking stage” and into the “doing phase”. I find that once I begin, it’s easier to keep the ball rolling.
This past week, I tricked myself into starting by committing to spending just 15–20 minutes beginning a new large commission. I gave myself permission to simply begin, without pressure to make progress or see results.
That small permission made all the difference
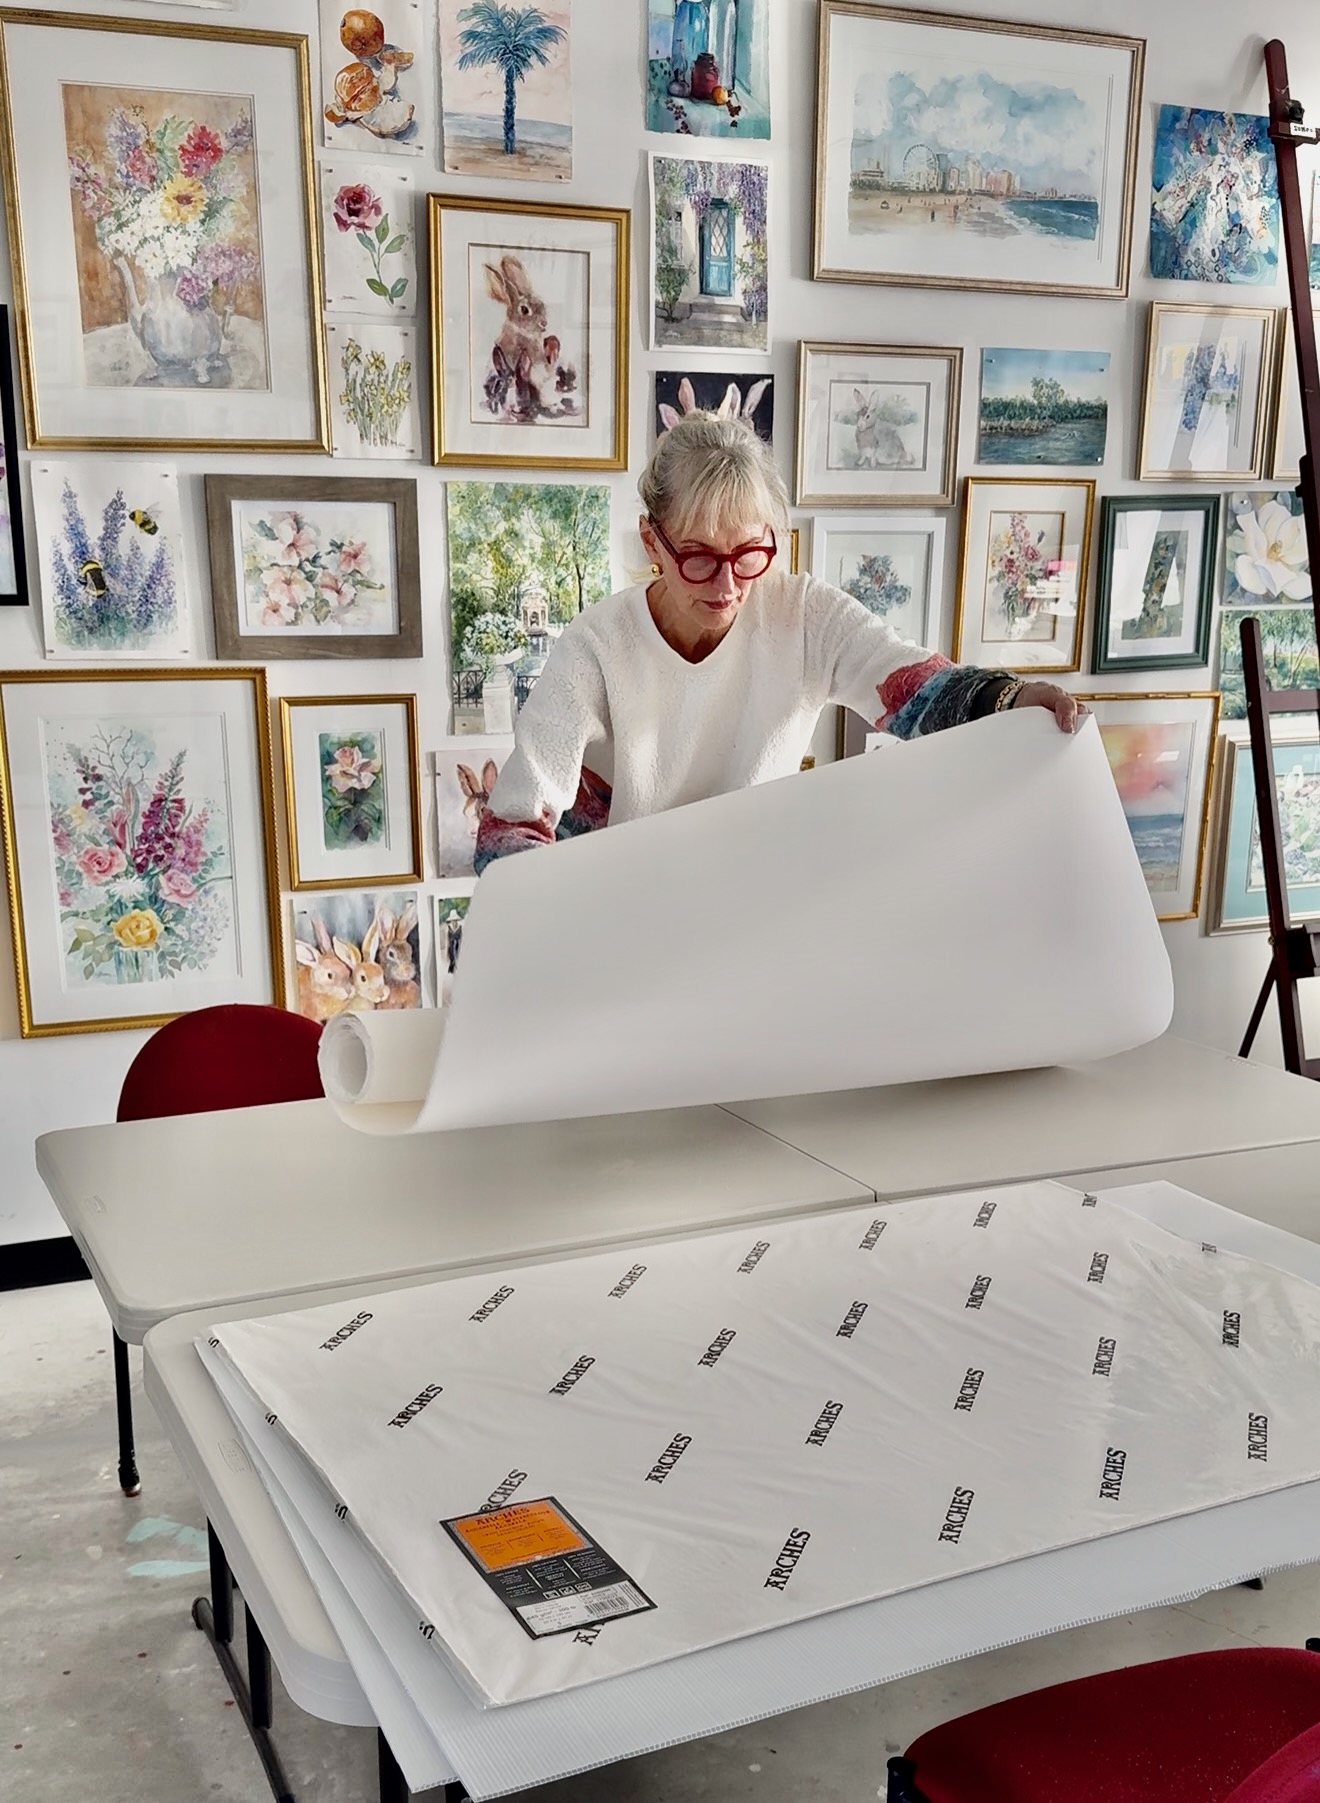
Once I started, I realized I couldn’t even remember the agreed-upon size of the painting. Numbers are not my thing. I remembered it was very large—but once I went back through old messages, I realized it was even larger than the biggest pre-cut watercolor paper I keep on hand.
The final size: 33 x 42 inches. Larger than any pre-cut manufactured paper I had on hand. Larger than even than my elephant size watercolor paper! That meant pulling out a big roll of 140 lbs Moulin du Roy watercolor paper.
I like to create a clean white border around my commission paintings, and to do this I have to plan carefully. I added extra inches for the border, and even more inches to allow for stretching the paper and securing it properly to a rigid support. It may sound simple, but I have to measure more than twice and check my math before cutting…this paper is expensive!
In the end, I cut a piece 37 x 46 inches—accounting for the finished image size, the white border, and the extra paper needed to stretch it.

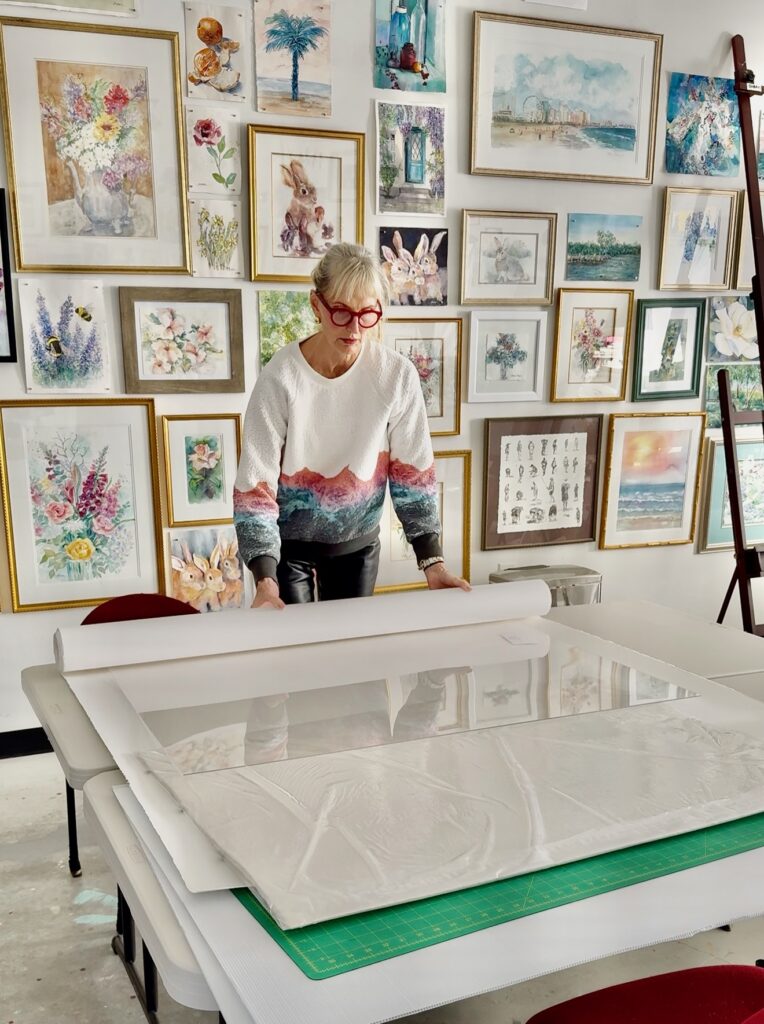
Working with paper this large is a physical process. The paper is unruly, and wants to roll back on itself. To keep that from happening, I used two 6-foot tables and some large flat items that are heavy enough to hold it in place ( a stack of 30 x 42, 300 lb paper and a few large sheets of plexiglass). Then I slipped a large cutting mat underneath where I want to make the cut.
Once it’s released from the roll, I sprayed the back to saturate it and relax the paper. Then I held it in place beneath some plexiglass to keep it flat while it dried.
This was all in preparation for the next step: stretching the paper and securing it to a rigid support. Only when it was flattened did I realize that I couldn’t proceed to the next step until I purchase a very large rigid support—40 x 56 inches. That’s on my list for today…
All of this happened before a single brushstroke was made.
And yet, this is the work.
This is the quiet, unseen preparation that goes into creating a painting with care and customized intention. It’s also a reminder I often share with my students: setting aside the time to just begin is the hardest part. Once we begin, momentum follows. It’s why scheduling a class is helpful…you schedule a time to begin. From there things can flow, especially when someone is there to help you along the way. ❤️
This painting is part of a larger season of work in my studio, leading toward my February Art With Heart show—where art, beauty, and generosity will come together for a fun event. I look forward to sharing more of this journey with you as it unfolds.
Have any questions? Shoot me an email and I would love to hear from you.
Recent Comments