
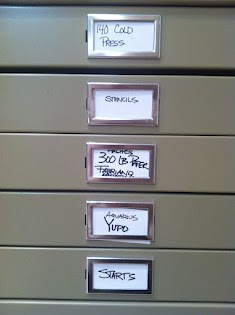
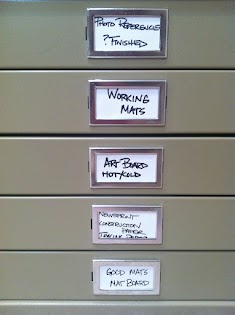
The proverbial snowball began to roll down the hill a few months ago when I purchased a set of flat files on Craig’s List. I thought it would be a great way to organize and store the many types of papers I use in my watercolor painting. When I got my flat files home and loaded them with things that needed a “place”, it was the best feeling! I wanted MORE!!!!

After stalking Pinterest, I decided to put up some pegboard. I began by measuring my space. Then I went to Lowe’s and got some pegboard. I had already attached 2X2 furring strips to the walls where I wanted the pegboard to go. When I got the pegboard, I had them cut it at the store to fit the dimensions of my walls. I decided to do 2 of the 3 walls that surround my work table. Then I began to shop for things use in order to hang stuff on the walls. OMG…so much to choose from if you are near an IKEA, but I’m not…I only had Lowe’s. So I had to get a little creative.
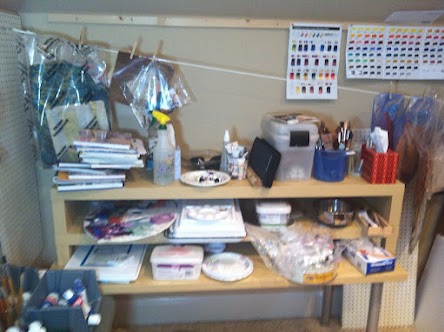
Shelves were needed, but they couldn’t be too heavy. I used long hooks to support small shelves…you can see them in some of the photos in this blog. Take my word for it…it works!
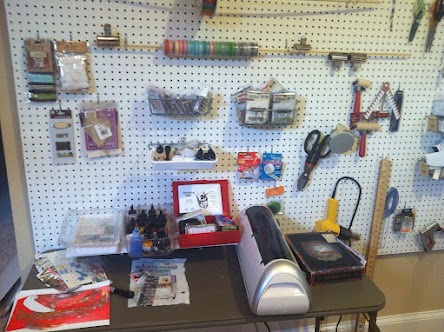
I wanted to spool ribbon, so I used dowels and a hook

I had all kinds of scissors to organize, so I stuck them here.

This is what I did with my Cricut and Cuttlebug. ( Note the gift portrait from Janet Rogers! A souvenir of time spent with an inspirational artist and lovely person. A reminder to myself of the generous teaching that I’ve been the recipient of…Thanks again Janet!)
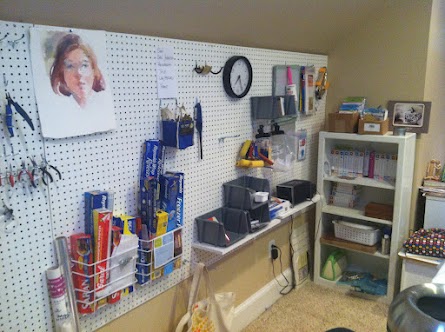
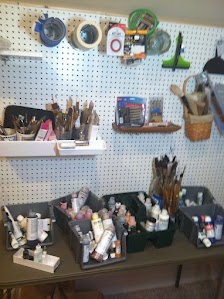
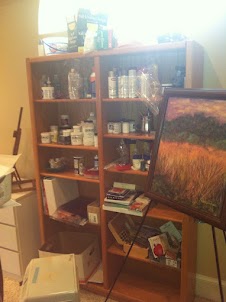
Acrylic Paints: I have them sorted into colors now and my brushes in general groupings of orientals (in the basket on the wall) and cheap/little brushes. My new awesome set of Isacryl acrylic brushes are sitting in the jar on the table…Love them!
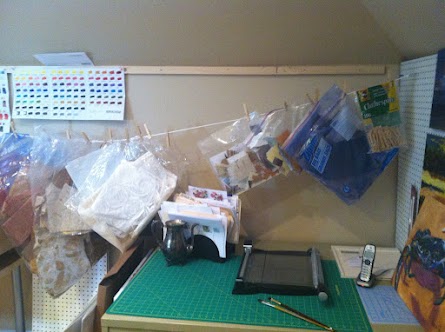
Collage papers- Hung in bags according to color families are hanging on a line in bags sorted into color families.
My cutting station is also pictured below: on top of my flat files
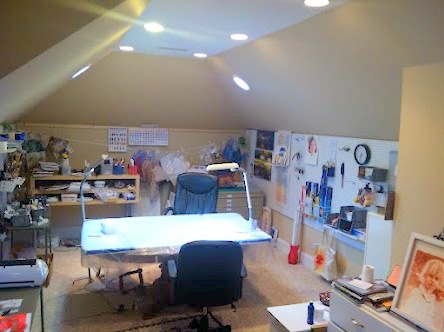
My work table- an old dining table we have had since we first got married supporting an old corian island countertop which we removed from our kitchen and just set on top of the table. I have covered the top with freezer paper and plastic. I have a step ladder near my right hand so I can set a palette on top of it or sometimes my water bucket will sit there.
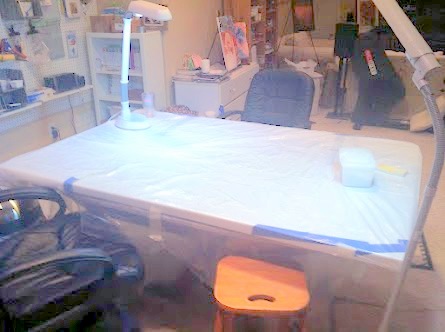
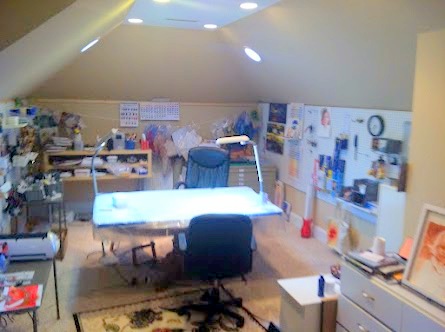
The finished space- Overhead lighting from 4 canned lights and 2 Solatubes, since I have no windows. I also have 2 table lights for cloudy days or night-time work.
I am all about sharing what I’ve learned. It’s one of the things I love about teaching…the opportunity to share the things others have shared with me. Nothing I know is original…it’s all wisdom someone else has taken the time to share. If y
Rebecca Zdybel is an artist and instructor in Myrtle Beach, SC. Follow her and see her work at https://rebeccazartist.com/ou’re at all inspired or have some other great ideas to share with me, leave me a comment or pin this to your website or pinterest board! Happy organizing everyone!
Recent Comments